
Schedule a new exam session for your team in ExamTools.
Prerequisites
- A team account where you have Owner, Co-owner, or Schedule permissions
- At least one owner or co-owner has delegated VEC credentials to the team for the VEC you want to schedule under
Steps
Sign in to exam.tools and click Session List in the left navigation.
Click New session (top right of the session list).
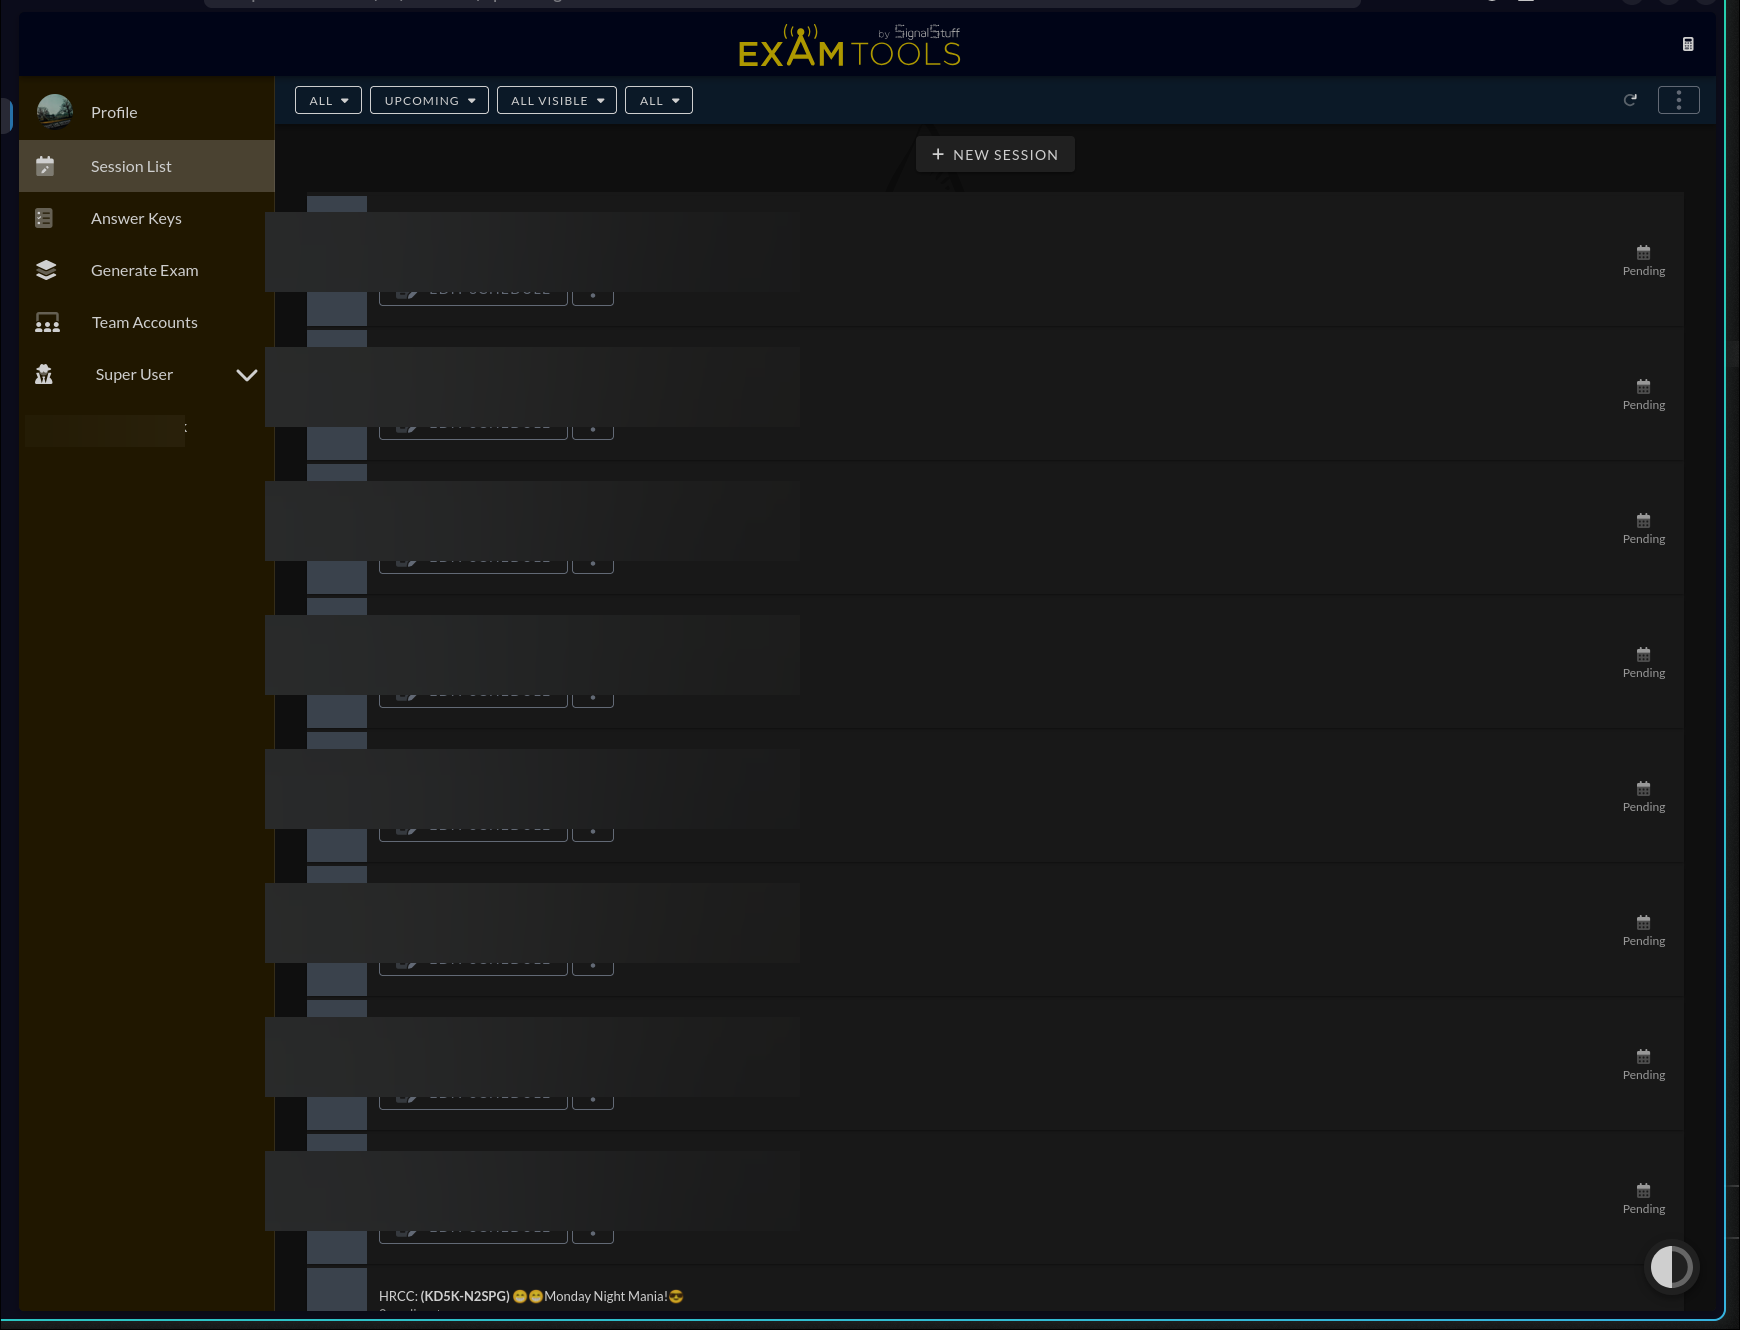
The session creation form opens in several sections. Complete them in order — some sections only appear after earlier choices are made.
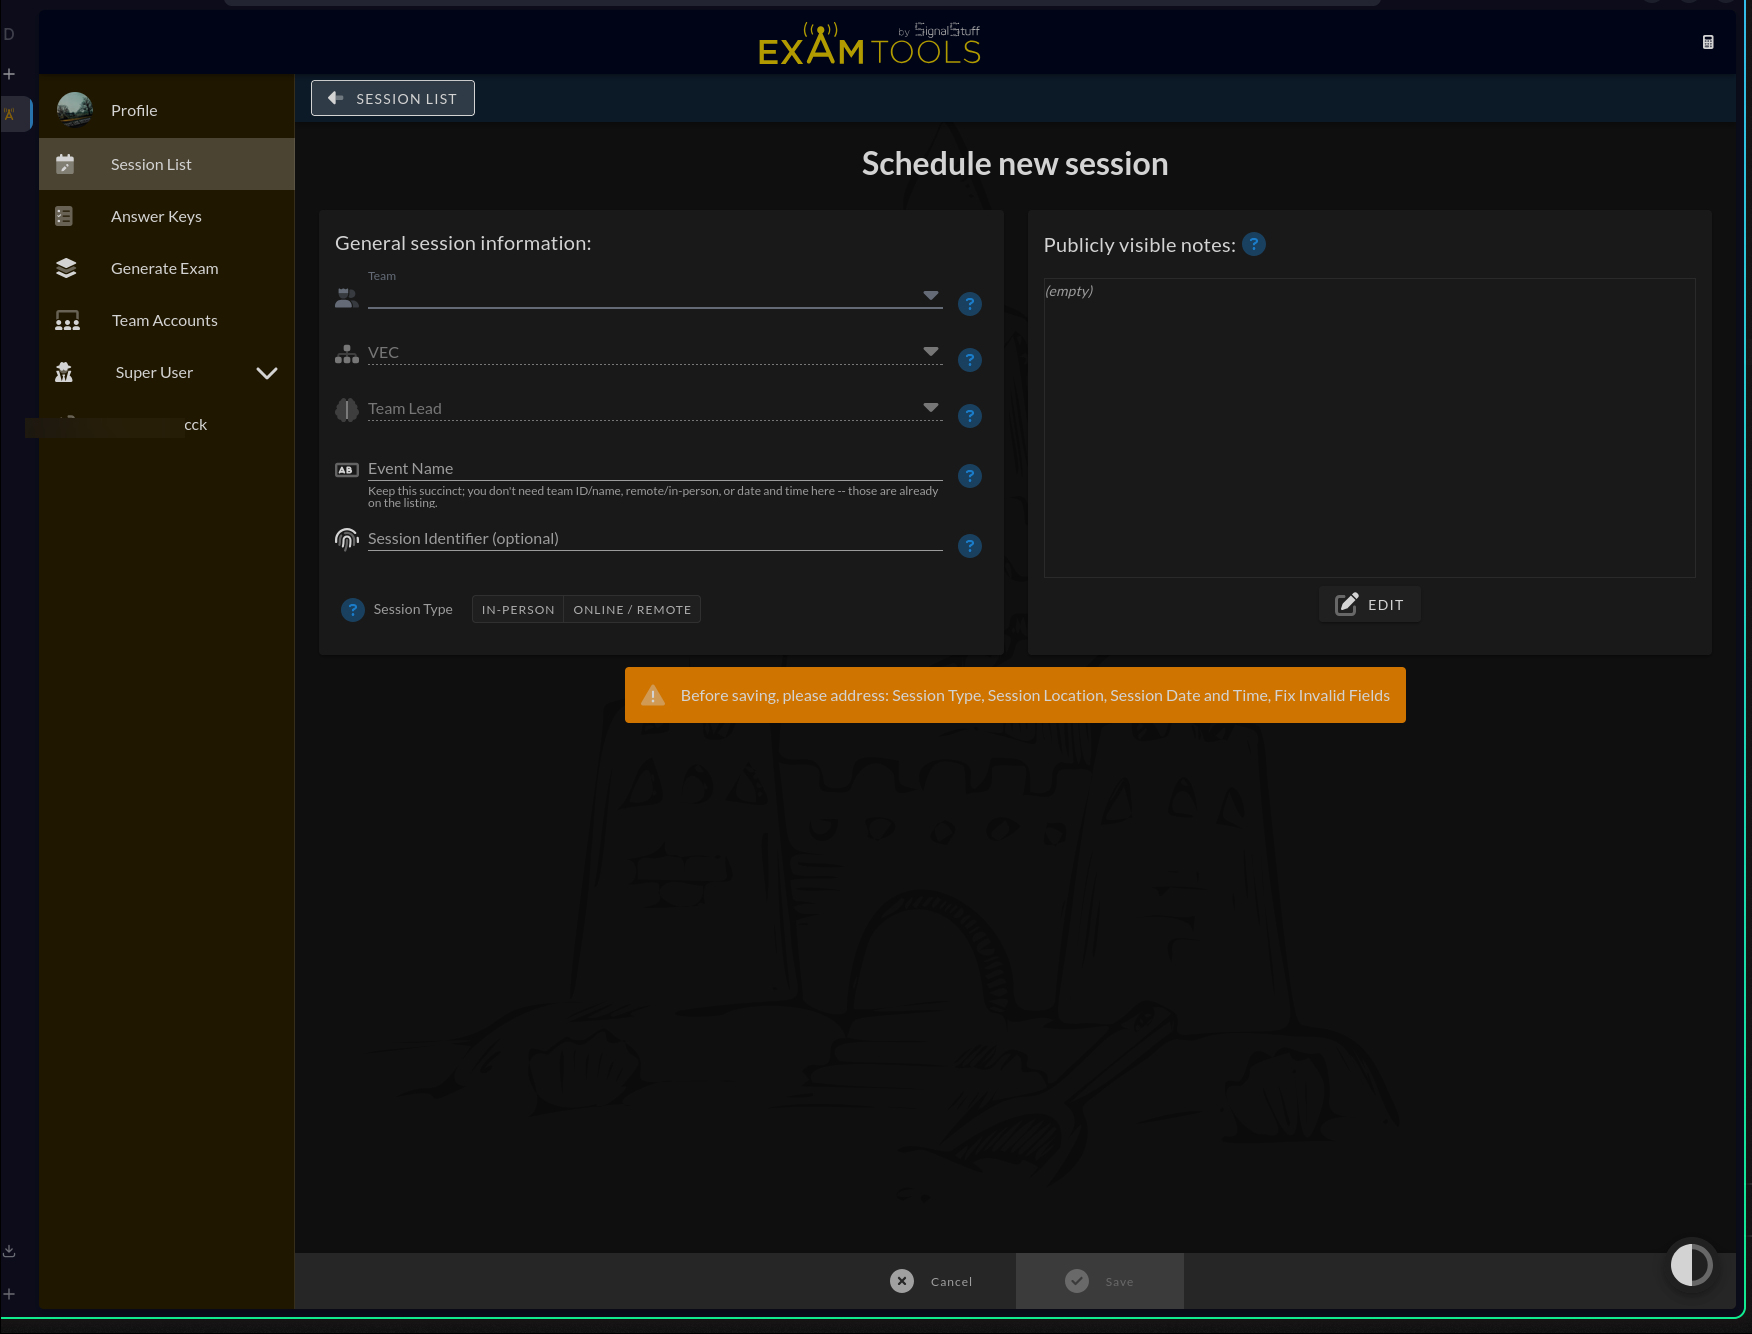
General session information (required)
Team (required) — Select the team this session will be scheduled under. Only teams where you have scheduling permissions appear here.
VEC (required) — Select the VEC that will receive this session’s results. Only VECs for which the team has delegated credentials appear here. If the VEC you need is missing, a team owner or co-owner must delegate credentials first.
Team Lead (required) — Select the VE who will be the responsible team lead for this session. The dropdown shows team members who hold team lead credentials from the selected VEC.
Event Name (required, minimum 6 characters) — The session title shown on HamStudy. Keep it short — the team name, date, time, and session type all appear separately on the listing. You do not need to repeat them here.
Session Identifier (optional) — An external ID used by some VECs (such as GLAARG) to track sessions. Leave blank unless your VEC requires it.
Session Type (required) — Choose In-person or Online / Remote.
Registration options (required)
Use ExamTools Registration?
| Choice | Effect |
|---|---|
| Yes | Applicants can register via a public link; session appears in the public HamStudy session listings |
| No | You manage registration yourself; optionally provide an external link or contact email |
If you choose Yes:
Use ExamTools for grading or paperwork? (required) — Set to Yes if you will use ExamTools to administer computer-based exams or handle digital paperwork. When set to Yes, ExamTools issues each applicant a PIN they use to sign in. Set to No if you want the public listing and registration but will administer and grade exams outside of ExamTools.
Walk-ins allowed? (in-person sessions only) — An informational flag shown on the HamStudy listing. Does not technically restrict anyone from registering.
Maximum number of Participants — Set a cap on pre-registrations, or select No limit. The system enforces this best-effort; two simultaneous registrations near the limit may both succeed.
If you choose No:
- Registration Method — Choose how applicants register:
- None — No self-registration; walk-up or manual only.
- External Link — The HamStudy listing shows a registration button pointing to the URL you enter in the Registration link field.
- Email Link — The HamStudy listing shows a contact email. Enter the Registration Contact: Name and Registration Contact: Email Address in the fields that appear.
Schedule (required)
Listing Visibility (appears only when using ExamTools Registration) — Controls whether the session appears in the public HamStudy session listings.
- Visible — Session appears in the public listings and applicants can find and register for it.
- Hidden — Session is removed from the public listings. The registration link still works and the session remains fully accessible to VEs in their dashboard; only the public listing is suppressed. Use this while you are still configuring a session you are not ready to advertise.
Start date (required) — Date of the exam session. Click the calendar icon to use a date picker.
Start time (required) — Applicant-facing start time. Use the clock icon for a touch-friendly picker, or type directly in 12-hour (10:00 am) or 24-hour (10:00) format.
Duration (minutes) (optional) — Informational only; displayed on the HamStudy listing to help applicants plan. A two-hour session is 120.
Time zone: The current time zone is shown in the Schedule section header as a clickable button. Click it to change the time zone for this session.
Locations (required)
Select a saved location from your team’s location dropdown. If no locations exist yet, or the location you need is not listed, click Add location… to add one now.
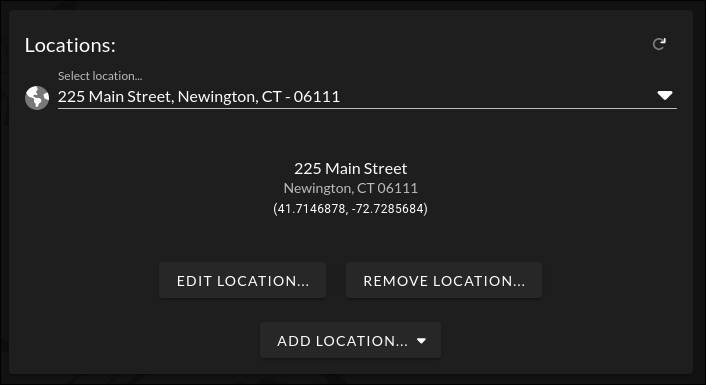
Locations added here are saved to the team and available for future sessions.
- In-person sessions: The full street address appears in session documents and on HamStudy.
- Remote sessions: Only city, state, and zip are required; the VEC uses this for record-keeping.
See Edit team settings → for details on managing saved locations.
Exam elements and notifications
All exam elements offered? — Checked by default. Uncheck to restrict the session to specific elements: Element 2 (Technician), Element 3 (General), Element 4 (Amateur Extra).
Examination Fee — Pre-populated with your VEC’s standard fee when one is set. The field is read-only for VECs with a fixed fee. Some VECs allow you to adjust this.
Receive email notifications on applicant registration? — Choose how to handle notification emails when someone registers:
- Team default — Uses the notification setting configured on the team account
- Yes — Sends a notification to the email address(es) you specify in the Email address for notifications field
- No — No registration notifications
Session notes (optional)
Publicly visible notes — Markdown-enabled text that appears on your HamStudy session listing page. Visible to anyone who views the session, including people who have not registered. Include exam rules, payment instructions, location details, and a way to contact you.
Notes for applicant (email) (appears only when using ExamTools Registration) — Markdown-enabled text that is emailed to applicants when they register. This text is private — it is not shown publicly on the listing.
When an applicant registers (with ExamTools Registration and PIN issuance enabled), they receive a confirmation email containing:
- Their session PIN (required to sign in on exam day)
- The Notes for applicant (email) text, if you have filled it in. If that field is empty, the Publicly visible notes are sent instead.
Validation and errors
Before saving, ExamTools checks that required fields are filled. If anything is missing, a warning alert appears above the Save button listing what needs to be addressed:
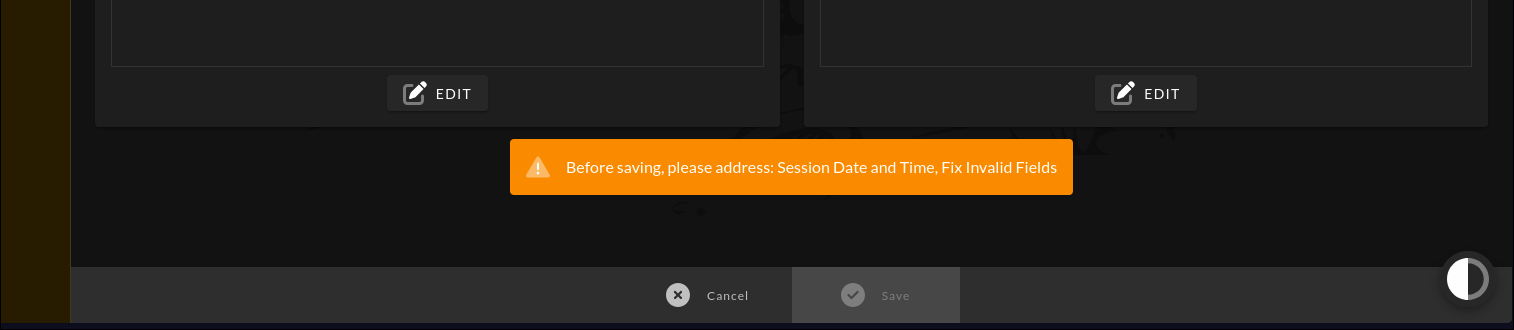
| Warning | What to fix |
|---|---|
| Session Type | Choose In-person or Online / Remote |
| Session Date and Time | Enter a valid date and time |
| Session Location | Select or add a location in the Locations section |
| Fix Invalid Fields | One or more fields has a format error (check for red field hints) |
| Notification Recipients | You selected Yes for notifications but have not added any email addresses |
Individual required fields show a red error message beneath them when the form is submitted with that field empty or invalid (e.g., Event Name too short, invalid time format).
The Save button is disabled until all required items are resolved.
Save the session
Click Save at the bottom of the page. The session is created with status Pending and appears in your session list.
Verify
Confirm the session appears in Session List with the correct team, VEC, date, and event name. Click the session to review all settings.
To get the public registration link or share the session listing with applicants, open the session and click the link icon next to the session title at the top of the page. This copies the registration URL to your clipboard. You can paste it into emails, your club website, or anywhere else applicants should find it.